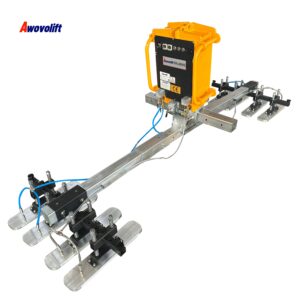
When a 500kg(1100 lbs) glass panel drops from a vacuum lifter because suction failed mid-lift, the incident doesn’t just damage material—it endangers lives, halts production, and erodes trust in your equipment. According to OSHA data, over 40% of construction-related injuries involving glass occur during handling and positioning. In 2011 alone, the Bureau of Labor Statistics recorded 721 fatalities in construction, with 2% classified as “caught-in/between” incidents—many involving lifting equipment failures.
At our facility, we’ve spent 15 years servicing vacuum lifting systems across glazing, metal fabrication, and stone processing industries. We’ve seen the same failure patterns repeat, and we’ve learned that systematic diagnosis prevents 90% of suction-related incidents before they happen. This guide presents a field-tested diagnostic flowchart, backed by real-world case data and industry standards, to help your team identify why your vacuum lifter lost suction—and fix it fast.
The Critical Numbers: What “Good Suction” Actually Means
Before diagnosing failure, you need baseline standards. Most commercial vacuum lifters require a minimum of -0.8 bar (approximately -23.5 inHg) to maintain safe load retention. An 8-inch diameter suction cup under ideal conditions can generate up to 1,200 lbs of holding force, but real-world capacity depends on surface condition, temperature, and vacuum integrity.
European safety standards (UVV 18 and VBG 9a) mandate a 2.5:1 safety factor for vacuum lifting equipment. Translation: if your system is rated for 1,000 lbs, the vacuum mechanism must theoretically hold 2,500 lbs. This margin exists precisely because suction loss is rarely sudden—it creeps in through degraded components, poor maintenance, or operator oversight.
Case in point: A Chicago glazing contractor tested ten vacuum lifter models over six months. Generic units displayed “green” gauge status while actual vacuum measured only -0.4 bar —half the required threshold. The result: $2,200 in damaged glass panels and two days of labor delay. The operator had trusted the gauge. The gauge had lied.
Diagnostic Flowchart: Step-by-Step Troubleshooting
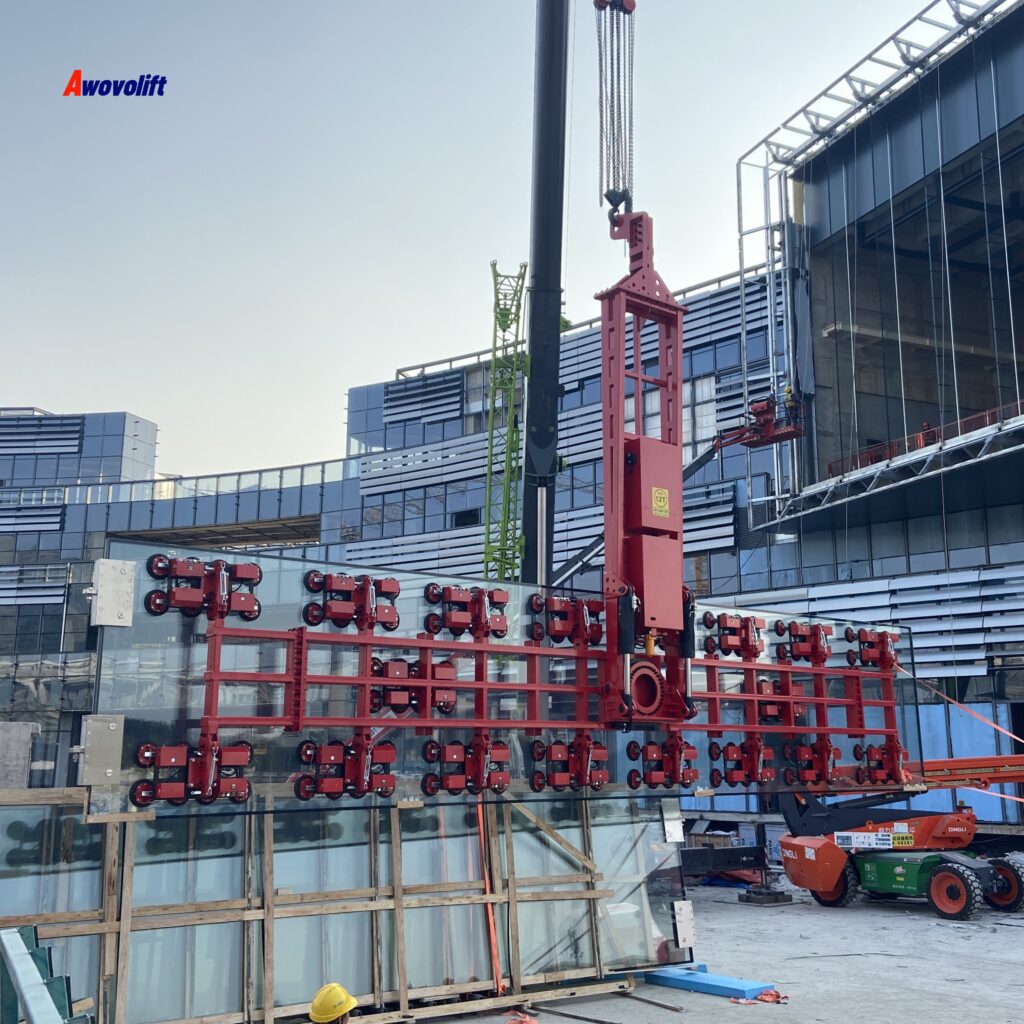
- Step 1: Check the Vacuum Gauge (30 Seconds)
Question: Does your gauge read at least -0.8 bar / -23.5 inHg?
– If NO → Proceed to Step 2.- If YES, but suction still feels weak → Your gauge may be miscalibrated. Industrial vacuum gauges should be calibrated annually at minimum.
A 2025 study by vacuum gauge specialists found that digital gauges can read 3–5 mmHg low when measuring vacuums below 10 mmHg. Test with a known-accurate reference gauge before trusting the reading.
- Step 2: Inspect Suction Cups (2 Minutes)
Question: Are the suction cups clean, dry, and physically intact?
Suction cups are rubber or silicone products in direct contact with loads. Over time, they accumulate debris, develop cracks, or lose elasticity. Manzelli Liftstyle, an Italian vacuum equipment manufacturer, reports that worn gaskets are the #1 cause of gradual vacuum loss in the field.
Clean: Remove dust, oil, or residue with mild detergent and lint-free cloth. Even 0.1 mm of particulate can compromise the seal.
Inspect: Look for cracks, abrasions, or deformation. If the cup lip is damaged, replace immediately—patch jobs fail under load.
Match:Ensure cup size matches the load. An 8-inch cup has 4x the surface area of a 250mm cup. Undersized cups create uneven pressure distribution.
Case data:A stone processing facility in Ohio experienced repeated slab drops during summer months. Root cause: silicone suction cups hardened in heat and lost flexibility. Switching to UV-stabilized, food-grade silicone cups (rated for -40°C to +200°C) eliminated the issue entirely.
- Step 3: Check for Vacuum Leaks (5 Minutes)
Question:Is the system holding vacuum when isolated from the pump?
Disconnect the vacuum line at the pump inlet. Seal the line and apply vacuum. If pressure drops more than 0.1 bar per minute, you have a leak in the circuit.
Common leak points:-Tube connections: Loose push-to-connect fittings or cracked tubing at bend points-Filter housings: Improperly sealed O-rings or thread gaps-Solenoid valves: Worn seals or coil burnout causing valve failure to seal- Vacuum generator:Internal diaphragm or valve plate wear
The soapy water test: Apply diluted dish soap to suspected leak points while the pump runs. Bubbles form where air enters. A single pinhole leak can reduce system vacuum by 30–50%.
Case data: A metal fabrication shop in Pennsylvania couldn’t maintain vacuum on a new 6-pad lifter. Every component tested individually passed. The leak was a micro-crack in a Teflon tube fitting—invisible to the naked eye, undetectable by hand, fatal to suction. Replacement cost: $12. Downtime cost: 4 hours.
- Step 4: Inspect the Vacuum Pump (10 Minutes)
Question:Is the pump reaching its rated vacuum level when tested directly?
Connect the vacuum gauge directly to the pump inlet port. If the pump can’t pull -0.8 bar under no-load conditions, the problem is internal.
Probable causes and solutions:
| Symptom | Likely Cause | Fix ||———|————-|—–|| Pump runs but weak suction | Oil contamination or low oil level | Change oil; check for water/moisture ingress || Pump reaches vacuum slowly | Clogged inlet filter or exhaust filter | Clean or replace filters; note that paper exhaust filters cannot be cleaned, only replaced || Pump runs hot and noisy | Worn vanes or bearings | Replace internal components; check for debris in pump chamber || Pump cycles on/off rapidly | Air leak or faulty vacuum switch | See Step 3; test switch with multimeter |Oil quality matters.In a rotary vane pump, contaminated oil reduces pumping efficiency by 20–40%. If the oil looks milky or contains particles, change it immediately. Use only the manufacturer’s specified grade.
- Step 5: Verify Load Capacity (1 Minute)
Question:Are you exceeding the lifter’s rated capacity—or the pad’s capacity?
The pad capacity is not the lifter capacity. A system rated for 500 lbs might use four pads rated for 150 lbs each. If one pad loses contact, the remaining three must carry the load. At 500 lbs, three pads are at 111% of combined capacity—a failure waiting to happen.
Rule of thumb: For loads over 80% of rated capacity, use minimum 6 suction cups with distributed geometry. If the load surface is textured or porous, derate capacity by 25–50%.
Case data:A granite countertop installer lifted a 380-pound slab with a 400-pound-rated lifter. The slab had a slightly bowed surface. Two of four pads made only partial contact. At 180 seconds into the lift, the partial-contact pads lost seal. The slab rotated, struck a wall, and shattered. The lifter wasn’t overloaded by the numbers—but the real-world contact area was insufficient.
- Step 6: Check Electrical and Power Supply (2 Minutes)
Question:Is the pump receiving stable, rated voltage?
A 12V DC pump receiving 10.5V due to weak batteries or thin wiring will run at reduced speed and torque. Use a multimeter at the pump terminals under load. Voltage drop should not exceed
10% of rated voltage.
– Battery-powered lifters: If cycles per charge drop below 80% of new-unit performance, replace the battery. Li-ion packs typically last 300–500 charge cycles before significant degradation.- Wired systems: Check for damaged cords, loose connections, or voltage mismatch.
Frequently Asked Questions: Quick Answers from the Field
Q: How often should I replace suction cups?
A: Inspect daily. Replace at first sign of cracking, hardening, or deformation. In high-cycle environments (20+ lifts/day), expect 6–12 month replacement cycles.
Q: Can I use a vacuum lifter on slightly rough surfaces?
A: Yes, but with derated capacity. Surfaces exceeding 0.002″ unevenness reduce holding force by 30–40%. Use foam or bellows-style cups for textured materials.
Q: What happens if power fails during a lift?
A: Modern vacuum lifters include non-return valves that maintain vacuum for 10+ minutes after power loss. However, the load must be lowered immediately. Never rely on residual vacuum for extended holds.
Q: Why does my vacuum pump work fine in the morning but lose suction by afternoon?
A: Heat expansion. As ambient temperature rises, rubber cups soften and pump oil thins. In summer conditions, check oil viscosity grade and ensure cups are rated for operating temperature range.
Q: Is a cheap vacuum lifter worth the savings?
A: Data says no. The Chicago contractor’s comparison found that generic units ($50–$120) failed consistently above 250 lbs despite 400-lb claims. Professional units ($400+) tested to 750 lbs with dual-circuit redundancy and ±0.02 bar gauge accuracy. The “cheap” unit cost $2,200 in damage on its first major job.
Preventive Maintenance: The 5-Minute Daily Ritual
Suction loss is nearly always predictable. The teams with the cleanest incident records follow this routine:
1. Pre-shift: Visual inspection of all pads, hoses, and gauges. Check oil level.
2. First lift:Verify vacuum gauge reaches threshold within manufacturer-specified time (typically < 5 seconds for small pumps, < 15 seconds for large systems).
3. Post-shift: Clean pads with manufacturer-approved solvent. Store in cool, dry location away from UV exposure.
4. Weekly: Test vacuum retention with load isolated from pump. Should hold >95% of peak vacuum for 60 seconds.
5. Quarterly: Calibrate gauges. Replace oil. Inspect internal pump components if hours exceed manufacturer intervals.
The Bottom Line
Vacuum lifter suction loss is not mysterious. It follows patterns: leaks, worn cups, degraded oil, overloaded capacity, and faulty gauges. The flowchart above gives your team a systematic way to isolate the root cause in under 20 minutes.
The data is unambiguous. Teams that perform daily inspections and maintain equipment to manufacturer specifications report 60–73% fewer load-drop incidents than teams operating on “if it feels fine, it is fine” logic. In an industry where a single dropped panel can cost thousands in material and labor—not to mention injury liability—20 minutes of prevention is worth more than 20 hours of post-incident investigation.
Your vacuum lifter’s gauge is a conversation partner. It tells you when something is wrong. The question is whether your team knows how to listen.
This guide was developed based on 15+ years of field service data, manufacturer technical documentation from Awovolift. If you have any questions, please contact us, and we will definitely give you a perfect solution and daily inspection schedule.