Roof Panels Vacuum Lifter: The Complete Guide to Safe, Efficient Large Roof Panel Installation
Installing large metal roof panels is one of the most demanding tasks in commercial and industrial construction. Panels can stretch 40 feet or more, weigh hundreds of pounds, and catch the wind like sails. Traditional methods—rope rigging, manual lifting, or clamp attachments—expose crews to serious injury and often damage expensive coated metal surfaces. The solution that leading contractors now rely on is the roof panels vacuum lifter. This technology uses vacuum suction to grip, lift, and precisely place large panels without drilling, clamping, or scratching. Whether you are handling standing seam metal sheets, insulated sandwich plates, or MDF substrates, a properly specified vacuum lifter reduces labor hours, improves placement accuracy, and dramatically lowers the risk of dropped loads. In this guide, we explain how vacuum lifters work, what to look for when selecting one, how to safely operate it, and how it transforms roof panel installation. You will also learn how sandwich plate lifting and MDF vacuum lifter applications differ, and where to download a free technical scheme to match a lifter to your exact project.
Why Vacuum Lifting Is Transforming Metal Roof Installation
Roofing crews have historically moved large panels with manual labor, cranes with slings, or mechanical clamps. Each method has major drawbacks. Manual lifting strains backs and shoulders, often requiring six to eight workers for one panel. Slings can slip, pinch, or bend thin metal edges. Mechanical clamps bite into coatings, causing rust and warranty issues. All of these methods increase the time a panel spends swinging in the air, where wind gusts can turn it into a dangerous sail.
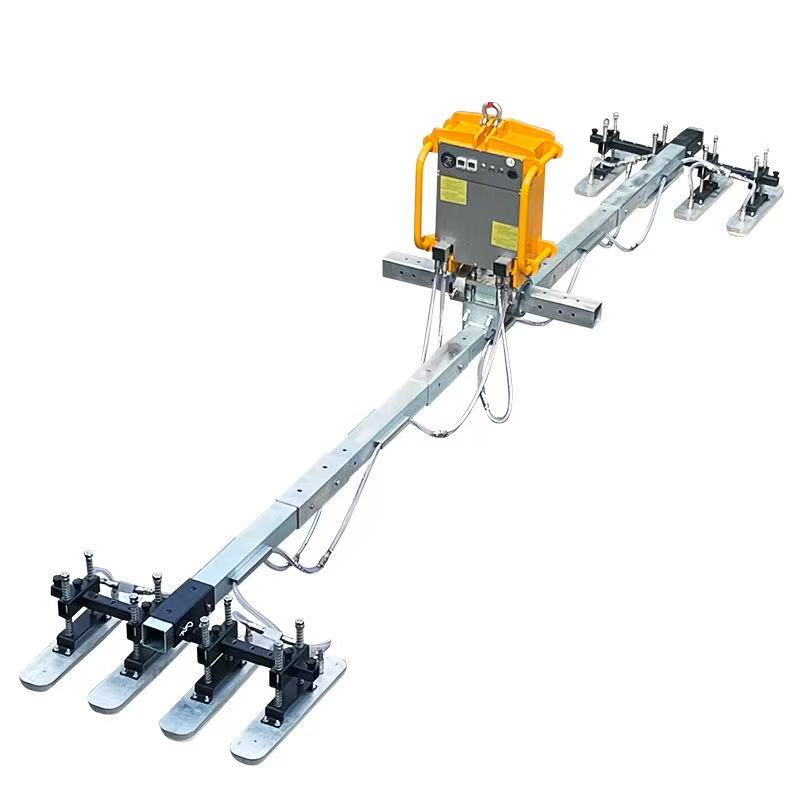
A roof panels vacuum lifter eliminates these problems. Vacuum pads attach to the flat surface of a panel, distribute the load evenly, and create a secure grip that does not damage paint, galvanizing, or protective film. One operator using a crane-mounted vacuum lifter can place a panel that previously required a full ground crew. According to industry safety reports, vacuum lifting can reduce panel handling time by up to 50% and lower the risk of musculoskeletal injuries by eliminating most manual lifting tasks.
Beyond safety, speed matters. On large warehouses, distribution centers, and agricultural buildings, every minute of crane time is expensive. Vacuum lifters allow panels to be picked from a stack, rotated, and presented to the roof deck in one smooth motion. This precision means fewer adjustments, fewer dropped fasteners, and tighter seam alignment. The result is a faster, cleaner installation that protects both workers and materials.
How a Roof Panels Vacuum Lifter Works
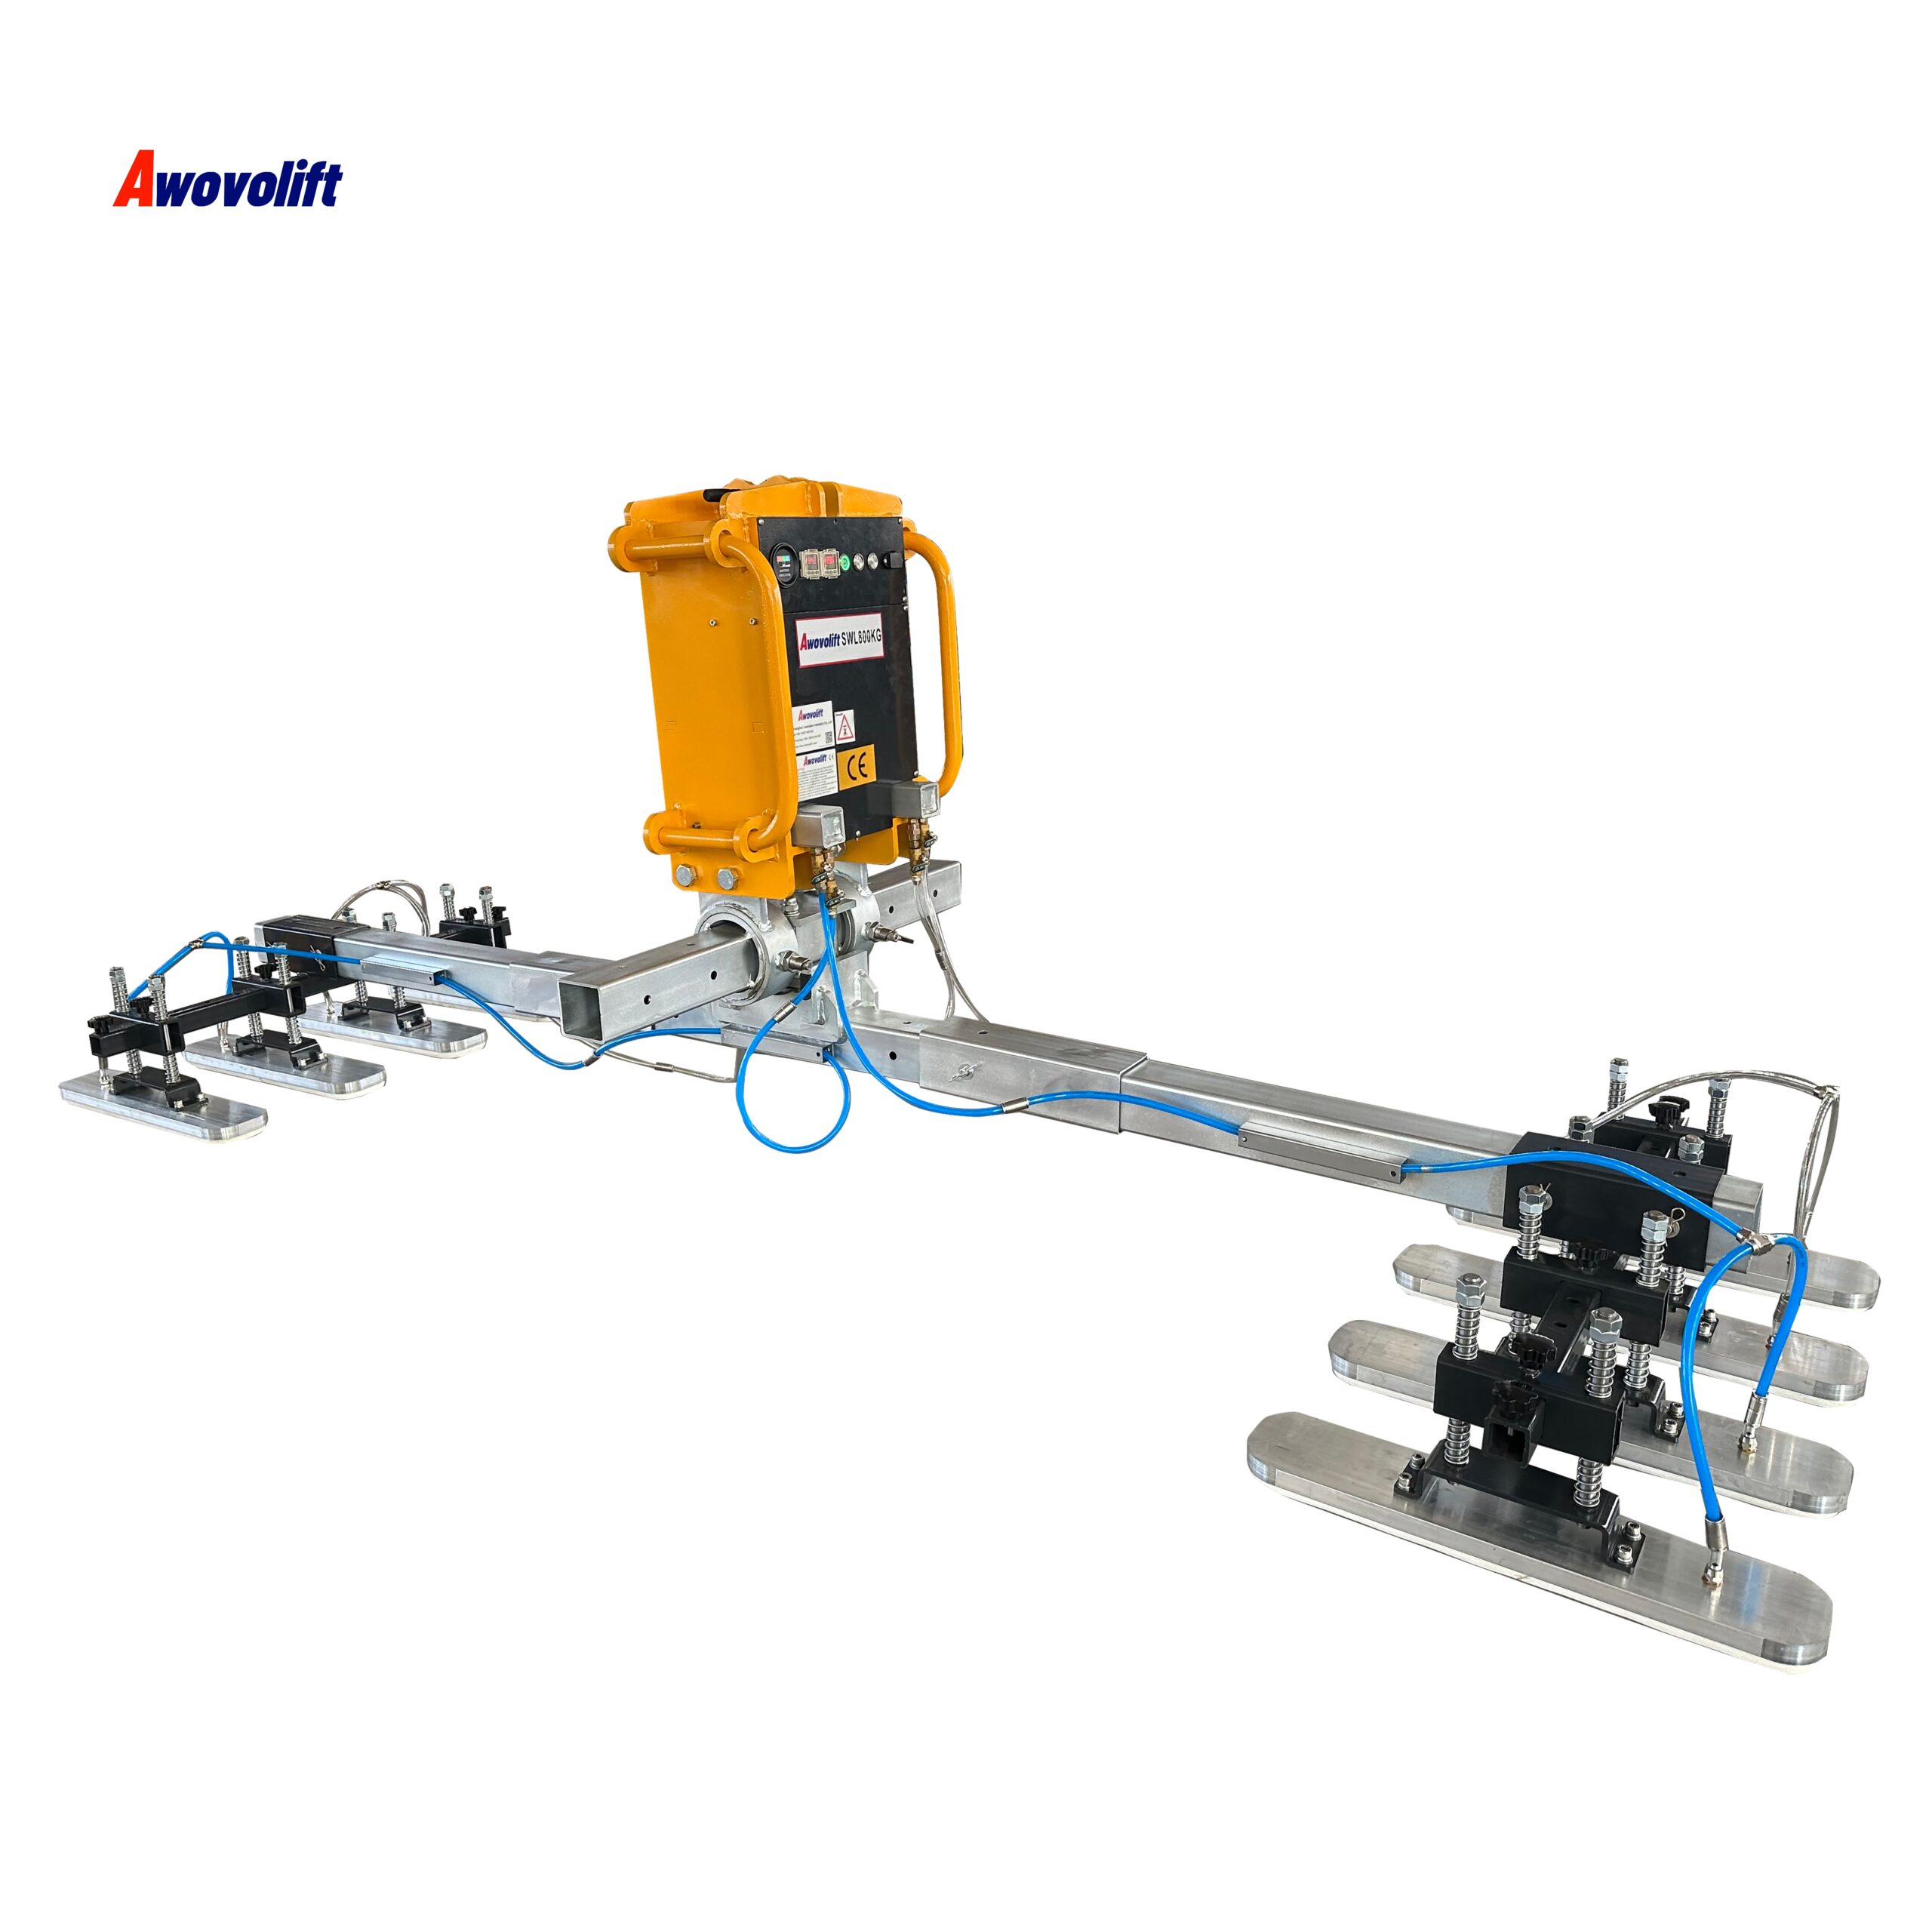
At its core, a vacuum lifter uses atmospheric pressure to hold a load. A vacuum pump removes air from sealed suction pads pressed against the panel surface. The pressure difference between the outside air and the low-pressure zone inside the pad creates a holding force. The more pad surface area and the greater the vacuum level, the higher the lifting capacity. For example, a lifter with four 12-inch pads can generate over 2,000 pounds of holding force on a smooth, non-porous metal panel.
Key components of a typical roof panels vacuum lifter include:
- Suction pads: Made from nitrile, polyurethane, or silicone rubber with sealing lips that conform to panel profiles.
- Vacuum pump: Two electric vacuum pump that creates the vacuum.Dual-system will be more safer and more reliable.Battery-powered units are common for remote roofing work.
- Vacuum reserve tank: Stores vacuum so the lifter can hold the load even if the pump briefly loses power.
- Check valves and warning system: Prevent sudden air return and trigger audible/visual alarms if vacuum drops below a safe threshold.
- Control handle or crane lug: Allows the operator to tilt, rotate, and release the panel from a safe distance.
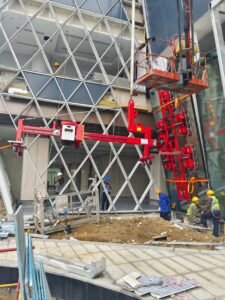
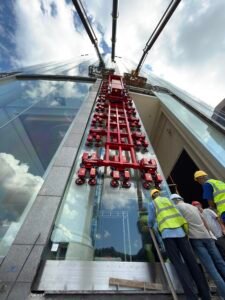
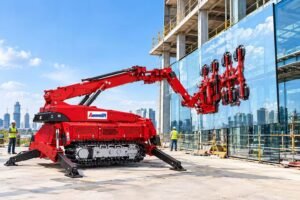
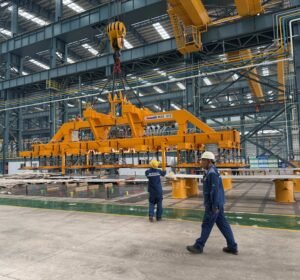
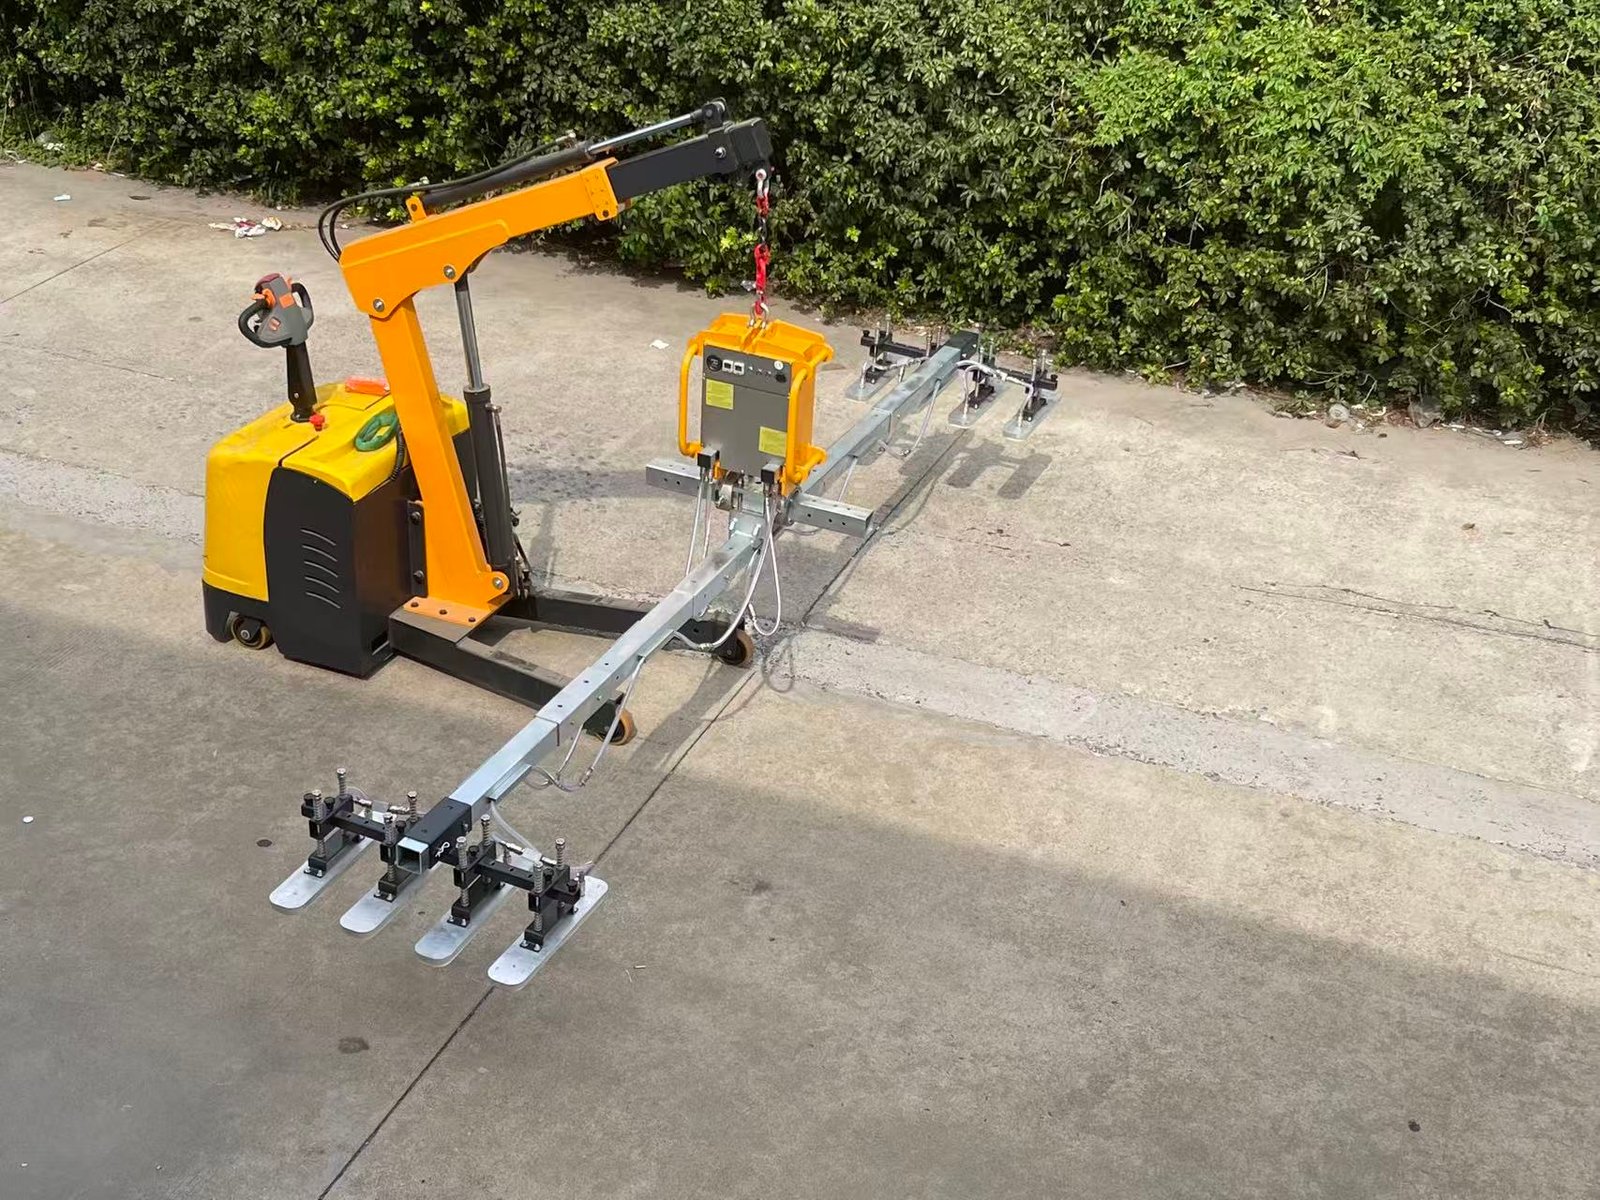
Vacuum lifters for roofing come in three main configurations. Below-the-hook units attach to a crane or telehandler and are ideal for very large panels. Self-contained mobile lifters feature built-in wheels and batteries, allowing ground crews to move panels short distances without a crane. Portable battery lifters are lightweight enough for two workers to carry and use on low-slope roofs. Each type uses the same fundamental vacuum principle but is optimized for different panel sizes and site conditions.
Sandwich Plate Lifting: Special Considerations for Insulated Panels
Insulated metal panels—often called sandwich plates—combine two metal skins with a rigid foam core of EPS, PIR, or mineral wool. These panels offer excellent thermal performance but present unique challenges for vacuum lifting. The outer metal skin is usually thin, and the foam core has limited compressive strength. If a lifter applies too much localized pressure, the panel can dent or the core can crush.
Sandwich plate lifting therefore requires a vacuum system designed to spread force over a larger area. Pads must be positioned so they do not bridge unsupported spans or concentrate load at panel edges. Many manufacturers recommend using a continuous vacuum beam with multiple small pads rather than a few large pads. This distributes the holding force evenly and prevents dimpling of the metal face.
Temperature also affects sandwich plate lifting. On hot days, the metal skin expands, and the foam core may soften. On cold days, moisture or frost can reduce pad friction. High-quality vacuum lifters for sandwich plates include vacuum gauges and automatic cycling pumps that continuously compensate for small leaks. Some systems also use a dual-circuit design, so if one vacuum circuit loses seal, the other circuit maintains partial grip long enough for the operator to lower the panel safely.
When lifting sandwich plates, always verify the panel manufacturer’s specifications for maximum point load and allowable suction pressure. The free technical scheme we offer includes a load distribution formula to help you determine the minimum pad area for your specific panel core and skin thickness.
MDF Vacuum Lifter: Handling Porous and Smooth Sheet Materials on Roofing Projects
While metal and sandwich panels dominate roofing, many projects also require handling MDF (medium-density fiberboard) sheets for temporary protection, fascia substrates, or interior roof decking. Standard vacuum pads designed for non-porous metal often fail on MDF because the board’s surface is slightly porous and dusty. Air leaks through the material at a slow rate, gradually reducing vacuum and causing the load to slip.
An MDF vacuum lifter solves this problem with high-flow vacuum pumps, larger pad surface area, and specialized foam seals that conform to the board’s micro-texture. The pump runs continuously or cycles frequently to maintain the required vacuum level despite porosity. Some MDF lifters include a vacuum reserve tank large enough to hold the board for several minutes even after the pump stops, giving operators time to react if power is interrupted.
Dust is another factor. MDF cutting generates fine dust that can clog vacuum filters and damage pumps. A good MDF vacuum lifter includes a filter system and a pad-cleaning routine. Operators should wipe pads with a damp cloth between lifts to remove dust and ensure consistent sealing. Although MDF is not a typical metal roofing panel, many contractors use the same crane or telehandler for multiple materials. Selecting a lifter with interchangeable pads and adjustable vacuum settings allows you to switch from steel roof panels to MDF sheets without buying separate equipment.
Selecting the Right Vacuum Lifter for Your Roofing Project
Choosing the correct vacuum lifter prevents accidents and inefficiencies. Start by gathering the following information about your panels and site conditions:
- Panel length, width, and thickness
- Panel weight (including any protective film or moisture)
- Surface finish: smooth, corrugated, embossed, or textured
- Panel composition: solid metal, sandwich plate, MDF, or composite
- Roof slope and panel orientation during lifting
- Available crane or telehandler capacity and hook height
- Power source availability: electric, battery, compressed air
Once you have these details, match them to lifter specifications. The most important numbers are the lifter’s safe working load (SWL) and its vacuum holding force. Always maintain a safety factor of at least 2:1, meaning the vacuum holding force should be at least double the panel weight. For example, if a panel weighs 600 pounds, choose a lifter with a minimum holding force of 1,200 pounds. When lifting sandwich plates or porous MDF, increase the safety factor to 3:1 because surface conditions can reduce effective grip.
The table below compares common vacuum lifter types for roofing applications.
| Lifter Type | Typical Capacity | Best For | Limitations |
|---|---|---|---|
| Below-the-hook crane unit | 500–5,000 lbs | Large metal roof panels, sandwich plates up to 60 ft | Requires crane or telehandler |
| Self-contained mobile lifter | 250–1,500 lbs | Ground-level panel movement, MDF sheets, low-rise roofs | Limited reach and lift height |
| Portable battery lifter | 100–800 lbs | Small panels, repair work, steep-slope roofs | Lower capacity, shorter battery life |
| Dual-circuit sandwich plate lifter | 1,000–4,000 lbs | Insulated sandwich panels with foam cores | Higher cost, requires regular seal inspection |
For most commercial metal roofing projects, a below-the-hook vacuum lifter with a rotator and tilt function provides the greatest flexibility. The rotator allows you to present panels at the exact angle needed for seaming. If you frequently handle both metal and MDF, look for a model with quick-change pad kits. Our vacuum lifter selection guide walks you through the full specification process, and our engineers can help you verify pad compatibility with your panel profile.
Step-by-Step Guide to Safe Vacuum Lifting of Large Roof Panels
Safe operation of a roof panels vacuum lifter depends on consistent procedures. Every crew member should be trained on the following steps before any lift begins.
1. Pre-Lift Inspection
Check the lifter for visible damage, worn pads, cracked hoses, and low battery or air pressure. Test the vacuum pump and alarm system without a load. Verify that the pad surface is clean and free of oil, dust, or debris. Inspect the panel surface for moisture, frost, loose protective film, or significant dents that could break the seal.
2. Position and Attach
Lower the lifter onto the panel so the pads contact the surface evenly. Engage the vacuum pump and wait until the gauge reaches the manufacturer’s specified operating level—usually 60–80% vacuum. Confirm that all pads are sealed and that the audible/visual alarm is silent. Never lift until the vacuum gauge is stable and the panel is fully supported by the pad pattern.
3. Test Lift
Raise the panel just 1–2 inches off the stack or ground. Pause for at least 5 seconds. Watch the vacuum gauge for any drop. If the gauge falls or the alarm sounds, lower the panel immediately and re-clean the pads and panel surface. A successful test lift confirms the lifter can hold the load before you move it over people or structures.
4. Move and Position
Use smooth, controlled crane or telehandler movements. Avoid sudden starts, stops, or swings. Wind speed should be below the crane manufacturer’s limit, usually 20–25 mph for large panels. Use tag lines to stabilize the panel if needed, but never allow ground personnel to stand directly under a suspended load. Rotate and tilt the panel only as designed by the lifter controls.
5. Release and Verify
Lower the panel into its final position and secure it with at least two fasteners before releasing vacuum. Open the release valve or switch off the pump only after the panel is stable. Lift the pads clear and move to the next panel. After release, check the pad faces for debris and wipe them clean as needed.
Following these steps reduces the chance of dropped panels and ensures consistent placement. For a printable checklist, download our vacuum lifter safety checklist to keep on-site.
Maintenance, Troubleshooting, and Safety Standards
Like any lifting equipment, a vacuum lifter requires regular maintenance to perform reliably. Daily checks should include pad condition, hose connections, filter cleanliness, and battery charge. Weekly checks should verify the vacuum pump’s performance using a calibrated gauge. Monthly inspections should test the reserve tank capacity and the alarm system under simulated vacuum loss.
Common troubleshooting issues include:
- Loss of vacuum during lift: Usually caused by dirty pads, worn seals, panel surface contamination, or air leaks in hoses. Clean pads, inspect hoses, and verify the panel surface is dry.
- Pad slipping on panel: May indicate insufficient pad area, wrong pad material, or panel surface texture. Increase pad area or use foam seals designed for textured metal.
- Alarm triggers frequently: Check for clogged filters, failing check valves, or an undersized vacuum pump. Replace filters and test the pump output.
- Battery drains too quickly: This often happens in cold weather or when the pump cycles excessively due to leaks. Warm the battery before use and fix any air leaks.
Safety standards for vacuum lifters include ANSI/ASME B30.20 in the United States and EN 13155 in Europe. These standards cover design, testing, inspection, and operator training requirements. Always ensure your lifter is certified and that operators have completed documented training. The Occupational Safety and Health Administration (OSHA) also requires that lifting devices be inspected before each shift and that loads never be suspended over personnel.
Cost-Benefit Analysis: Vacuum Lifters vs. Traditional Methods
Investing in a roof panels vacuum lifter may seem significant, but the return on investment is often rapid. Consider a typical 50,000-square-foot metal roof project. Traditional manual panel handling might require a crew of eight workers and take 20 days to complete panel placement. With a vacuum lifter, the same job can be done by four workers in 12 days. Labor savings alone can exceed $15,000, not including reduced crane time and fewer damaged panels.
Vacuum lifting also reduces material waste. Clamps and slings frequently scratch or bend panel edges. Replacing just 10 damaged panels on a commercial job can cost $2,000–$5,000 in materials and labor. Vacuum pads eliminate this damage, preserving the panel warranty and the building’s appearance. In addition, lower injury rates mean fewer workers’ compensation claims and less downtime.
For contractors who lift sandwich plates and MDF in addition to metal panels, the flexibility of a multi-material vacuum lifter further improves ROI. Instead of owning three separate lifting devices, one lifter with interchangeable pads handles all materials. The free technical scheme we offer includes a simple ROI calculator based on your local labor rates and project volume. Download it below to see.
Case Studies: Vacuum Lifters in Action
Case 1: 15,000 m² Warehouse with Sandwich Panels
A logistics centre in the UK required fast installation of 80 mm thick PIR-core sandwich plates measuring 14 m x 1 m. The contractor deployed a battery-powered vacuum lifter with eight circular pads mounted on a spreader beam. The lifter allowed one crane and a three-person ground crew plus two roof fixers to place up to 60 panels per day. Manual handling would have needed eight people on the ground and yielded perhaps 20 panels daily. The project finished two weeks ahead of schedule, and zero panels were damaged during lifting. The lifter’s versatility also meant it was later used to lift the MDF soffit boards—simply by swapping the pads.
Case 2: Complex Architectural Roof with Multiple Materials
A stadium roof incorporated perforated aluminium panels, glass skylights, and decorative MDF composite fascia panels. The roofing subcontractor invested in a modular vacuum lifter system with interchangeable pad cassettes: standard rubber pads for aluminium, foam-seal pads for the glass, and high-flow pads for the porous MDF. The same pump unit and control head serviced all configurations. This approach eliminated the need for multiple specialised lifters and ensured consistent safety protocols. The site manager noted a 40% reduction in crane time compared to conventional sling methods.